
Patient


Patient
This section of the User Guide will cover some of the more common settings and options in the Patient section of your MidexPRO system.

Finding a Patient
Accessing Patient Records
Use the Search feature to check if a patient already exists and avoid duplicate entries. Select criteria from the Search By drop-down (e.g., name, date of birth), enter details, and click the green Search button. Searches are not case-sensitive.

Adding a New Patient
If the patient is not found, follow the steps below to add them to your MidexPRO account.
Adding a New Patient
- Click Patients on the Navigation Bar
- Along the bottom of the pop-up, click + Add Patient
- Fill out the New Patient’s details
- Click Save Changes when finished
- The Patient is now added and searchable
Labels
To ensure proper alignment in MidexPRO, use official Avery or Dymo labels, as they are correctly configured. Other labels may misalign due to differing measurements. While slightly more expensive, the correct labels save time and money by reducing misprints.
How to Set Up a Label
- Click Patients on the Navigation Bar
- Select the Patient
- Under Tasks, click Print labels
- In Content, choose (New Custom Label)
- Enter a label name
- Use Tags List to add required info
- Click Save Changes
- Your label is ready
To update a label, click the edit button next to the name box. Add or remove the information to make your changes, then click Save.
Choosing How Many Labels You Wish To Print
- Click “Dimensions” and select your label type (e.g., Avery - L7163)
- Set the quantity using the drop-down boxes
- Choose font, size, and colour
- Toggle on for Bold, Italic, or Underline if needed
- Preview on the right, then click Print
If label dimensions are incorrect, adjust them in the Maintenance tab under “Wordprocessing” then “Label Types”. Select a label to view and edit specifications like Width and Vertical Pitch, especially if not using Avery or Dymo labels. Refer to the visual guide below to see how each dimension affects alignment.

Patient Alert
How to add a Patient Alert
- Select the Patient
- Open the Clinical tab
- Click View/Edit Patient Alert
- Enter your message in Alert Description
- Toggle Enabled Alert
- The alert will now display for all users viewing the Patient
How to remove a Patient Alert
- Select the Patient
- Open the Clinical tab
- Click View/Edit Patient Alert
- Enter your message in Patient Alert – Message Text
- Untoggle Alert Enabled
- Removes the alert for all users viewing the Patient
Invoicing
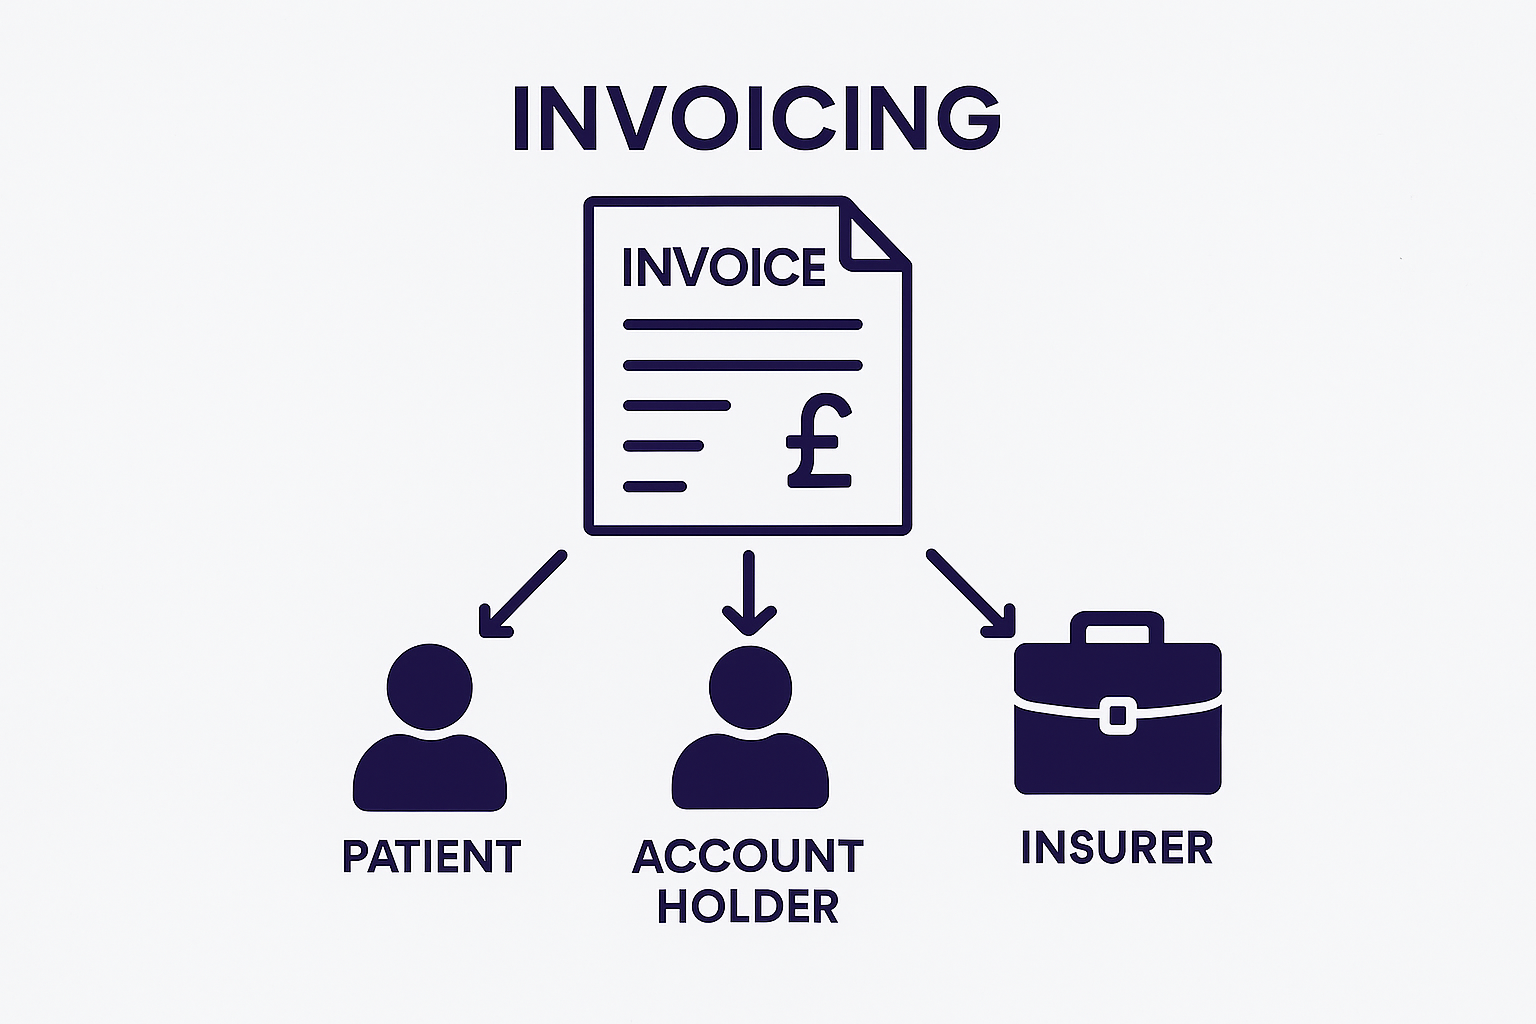
Invoice Types in MidexPRO
MidexPRO supports three invoice types, each with a specific purpose:
- Patient
- Account Holder
- Insurer
Invoice States
Invoices can be Open or Closed.
- When created, an invoice is Open.
- Open invoices can be updated, amended, and have additional charges added.
- It remains open until sent, which means you are unable to add payments.
- Adding payments to an Open Invoice will change the status to sent.
Each patient may have multiple invoices at once. Some are paid, other unpaid, and others are still open.
Setting Up Invoices
Refer to the guide below for creating each type.
Billing a Patient
If the Patient is uninsured, bill them directly. For children, send the invoice to the parent (see Billing Parent). Follow the steps below.
Invoicing a Patient
- Go to Patients in the navigation bar
- Search and select the patient
- Open the Invoices tab
- Click Add a New… (top right)
- Choose Invoice
- Choose Invoice to: Patient, Insurer or Account Holder
- Select Insurer or mark as Uninsured/Self Pay
- Enter Insurance details (Ref/Ins#, Authorisation, Group,Scheme)
- Select Provider(s)
- Select the Location
- Add First Symptom Date if needed
- Add Diagnosis (optional)
- Toggle Print Diagnosis if required
- Click +Add Service and select the Service to charge
- Save Changes
- Send the invoice
Follow the same steps as for a patient invoice, but in the Invoice to field, search for the account holder.
Billing a Third Party
(The same process applies to both invoices and credit notes.)
The addressee is set by the Invoice to field at the top of the screen:
- Patient (default) → Patient invoice
- Any other value → Third-party invoice
Note: Do not type the patient’s name in the Invoice to box. This will create an Account Holder (a Third-Party invoice).
For invoices sent directly to a Third Party (e.g., Medico-Legal work), set up a separate Account Holder. This can be an individual or an organisation, depending on the account type.
Billing a Parent
Set up the Parent as an Account Holder with account type Individual.
Estimates
The guide below explains how to raise an Estimate in the system.
How to Create Estimates
- Go to Patients and search for the patient
- Select the patient and open the Invoices tab
- Open the Invoices tab
- Click Add a New… (top right)
- Choose Estimate
- Choose who the estimate is for (Patient, Insurer, or Account Holder)
- Select the Insurer or self-pay option and complete any required details
- Click + Add Service and select the service
- Save or Send the estimate
- When confirmed, click Convert to Invoice to create the invoice
Creating an Estimate for an Account Holder follows the same steps as a Patient Estimate. Simply select the Account Holder in the Estimate to field instead of the Patient.
This is typically used for Parents or Solicitors, who are responsible for the Patient’s fees.
Word Processing
Introduction to Word Processing
MidexPRO uses Microsoft Word for all word processing. You need Microsoft Office 2016 or later (or Office 365 on macOS). Microsoft Word is not included with MidexPRO and must be purchased separately.
Please refer to Microsoft Word’s Help feature for tips on how to use Word. We are not able to advise on third-party software.
MidexPRO provides standard document templates called Proformas, such as invoice templates. Custom practice-specific documents must be added as Letters.
How to Set Up a Template
- Go to Maintenance
- Under Word Processing, select Document Templates
- Choose Proforma or Letter
- Click Add template under Actions
- Add the Template Name and Document Type
- Use View List of Tags to see available fields
- To edit a template, click the Pencil to open it in Word
- Save your changes in Word to update the template
If you’re unsure how to edit templates, please contact Support before making changes. Our team can guide you to avoid errors and save time.
To add existing Templates to MidexPRO, please follow the process below.
How to Import a Template
- Go to Maintenance
- Under Word Processing, select Document Templates
- Select Proforma or Letter
- Click Import template(s) under Actions
- Enter Template Name and Type
- Upload your file(s), then Click Save Changes
- To edit, click the Pencil to open the template in Word
Tags
MidexPRO tags allow you to automatically insert information into your templates. Tags are grouped by category (such as Patient or Invoice) to show which templates they apply to.
Template types are set when creating a template and can be changed at any time using More and Change Type in the Templates section.
Adding tags is simple. Please follow the steps below to use them.
How to Add a Tag
- Go to Maintenance
- Under Word Processing, select Document Templates
- Select Proforma or Letter
- Open the template you want to edit
- Open the List of Tags tab.
- Select the required tag to copy it by clicking the tag
- Paste the tag where needed in the template
- Save your changes in Word to apply the tag
If you need further help with tags, don’t hesitate to contact the Support Team who will be happy to help.
Voice Recognition
MidexPRO supports any voice recognition software that works with Microsoft Word, where all word processing takes place. As long as your transcription is saved as a Word document, it can be imported directly into the system.
MidexPRO recommends Voice Power, but other supported options include:
- Dual Writer
- Microsoft Word speech‑to‑text (Microsoft 365)
- Dragon
- Verbit
- Otter.ai
- Speechmatics
Document Status & MXPORTAL
Each document has a Status that controls whether patients can see it in MXPORTAL. You can set this using the Status drop‑down in the patient’s document record.
Documents are only visible to patients when the status is set to Portal. Other status options include Review, Approved, Completed, and Urgent, giving you full control over what patients can access.
How to Set a Status
- Go to Patients and open the Patient record
- Select the Documents tab
- Click the Document you want to add a status to
- Choose a Status (Urgent, Review, Approved, Completed, or Portal)
- Review – Marks the document for the Consultant to review before sending
- Approved – Consultant has reviewed the document, and it’s ready to send or add to MXPORTAL
- Completed – Document has been sent and is no longer visible on Review Documents
- Portal – Approved and available for the patient to view in MXPORTAL
- Urgent – Flags the document for priority Consultant approval
- Then click Save Changes
- Review – Marks the document for the Consultant to review before sending.
- Approved – Consultant has reviewed the document, and it’s ready to send or add to MXPORTAL.
- Completed – Document has been sent and is no longer visible on Review Documents.
- Portal – Approved and available for the patient to view in MXPORTAL.
- Urgent – Flags the document for priority Consultant approval.
Recalls
Setting Up Recall Categories
Before creating a Recall, you must add recall categories. These help identify what each Recall relates to.
How to Set Up a Recall Category
- Go to Maintenance on the Navigation bar
- Select Recall Categories under Practice Settings
- Click + Add a New Recall Category
- Enter the required details and choose whether toenable SMS prompts
- Click Save and close
WARNING - When creating new Recall Categories, the colour section allows you to choose the colour the text appears in on the Recalls section of MidexPRO.
How to Add a Recall for a Patient
- Open the Patient record
- Go to the Recalls tab
- Click Add a Recall
- Select a Recall category and complete thedetails
- If you wish to send an automatic email, toggle thebox Email automatically
- Click Save & close
- The Recall will appear on the Dashboard underRecalls due when the date arrives
When booking an Appointment, you can link it to a Recall, which creates the Recall from the Appointment date.
To 'Link Recall' tick the box and select the Recall Category.
To close Recalls you need to add a Prompt, these let you record how a Patient was contacted for a Recall.
How to Add a Prompt
- Go to Recalls on the Navigation bar
- Open the Recall you want to add a prompt to
- Click + Add Prompt
- Select the Date and Contact Method
- Then Save & Close
Note: Adding a Prompt removes the Recall from the Recalls due. If the action isn’t completed, the Recall will need to be recreated. Recall remains visible in the Patient’s Recalls tab for reference.
The Recalls tab shows all outstanding recalls. Selecting a recall displays its details, and the Options menu lets you filter overdue recalls, recalls with appointment dates, and more.
Prescriptions
How to Turning on Prescriptions
- Open the Maintenance tab
- Select Practice Setup under Practice Settings
- Click Enable Features
- Toggle Enable Prescriptions
- Click Close
- Click Save Changes
WARNING -Before you can write Prescriptions, you will need to add a list of Drugs, Directions and Advisory Message to the Practice.
How to Add a Direction
- Open the Maintenance tab
- Select Directions under the Clinical heading
- Click + Add New Direction
- Enter the direction text
- Toggle the Active box
- Click Save Changes
How to Add an Advisory
- Open the Maintenance tab
- Select Advisories under the Clinical heading
- Click + Add New Advisory
- Enter the BNF# number
- Add the details to the Name
- Click Save Changes
How to Add a Drug
- Open the Maintenance tab
- Select Drugs under the Clinical heading
- Click + Add New Drug
- Enter the drug details
- Choose the appropriate Directions
- Click + Add Advisory Message to add an advisory
- Click Save Changes
How to Raise a Prescription
- Go to Patients and select the Patient
- Go to the Prescriptions tab
- Click Add A New Prescription under Tasks
- Enter the Prescription details
- Add a drug by clicking + Add Drug
- Click Save Prescription
- Open the Prescription
- Click Actions, then choose if you wish to Edit in Word, Print Labels, Print or Email
Setting up Repeat Prescriptions
- Raise the prescription following the steps above
- Before saving, enter at least 1 in the Repeats field
- Click Save Prescription to update the Repeats
- Reopen the Prescription to see the Repeat button available
De-Duplication
MidexPRO lets you merge duplicate records, including Patients, GPs, or Account Holders. So that all information, including invoices and documents, is combined into a single file.
How to De-duplicate
- Go to the Maintenance tab on the Navigation Bar
- Select De-duplication under Practice Settings
- Choose Select Original Patient, then search for and select the most up‑to‑date record to keep.
- Click Add Duplicates and search for any duplicate records
- Select all Duplicates to merge, then click De‑duplicate Selected Patients
- Confirm by completing the number of duplicates and clicking Yes when prompted.
- A notification will confirm once the De‑duplication is complete
Along the top of the page, you’ll see all available file types that can be merged. Simply click the relevant tab and follow the same process.
WARNING - De-duplicating on MidexPRO cannot be undone and you should be sure you are de-duplicating the correct records.