General Information


General Information
This section of the User Guide will cover some of the more common settings and options in the MidexPRO system.
Navigate Topics

Printing
-
- Windows: Microsoft Support
- Mac: Apple Support
In many cases, your IT provider can resolve printing or PC configuration problems. We recommend contacting your IT company in the first instance if you have one.
If the message “Your document is being prepared, please wait…” remains open on the screen for an extended time, your browser may be causing a processing delay. We recommend using Google Chrome, but if issues persist, try another browser such as:
-
- Edge
- Safari
- Firefox
If you cannot change browsers and you are a Master User, follow the steps below to save the document as a PDF. You can then open and print it outside MidexPRO.
How to turn on Inline PDF Printing
- Go to the Maintenance tab on the Navigation Bar
- Click on User Settings under the Account Settings heading
- Click on your User
- Toggle Inline PDF printing
- Click on Save Changes
- Try to re-print the document
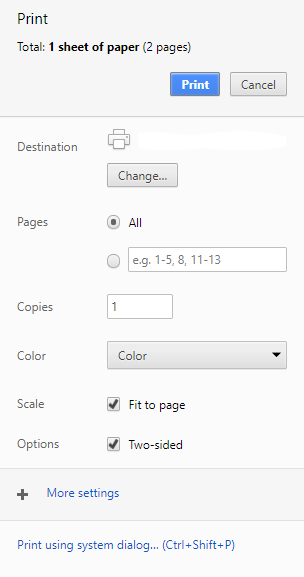
Two‑sided printing issues are usually caused by your printer’s own settings, so your IT provider or the printer manufacturer will be best placed to help.
When printing, you’ll see the option shown below. Ensure “Two‑sided” is ticked or unticked, depending on whether you want double‑sided printing.
User Access
A Master User for the Account can manage all Users in your Account, including updating permissions, logging users out, locking accounts, and deleting users.
Adding a New User
To add a new User to MidexPRO, email support@midexpro.com with:
- Full name of the new User
- Their email address
- The access level required and (if applicable) which Practices it should apply to
How to Delete a User
- Go to Maintenance in the Navigation Bar
- Select User Settings under Account Settings
- Open the User you want to Delete
- Click Delete
- Type Delete in the confirmation box and click Permanently Delete User
How to Set User Permissions
- Go to Maintenance in the Navigation Bar
- Click User Settings under Account Settings.
- Select the User you want to Edit
- Choose the permissions you want to assign.
- Click Save Changes
How to Lock a User
- Go to Maintenance in the Navigation Bar
- Select User Settings under Account Settings
- Select the User you want to Lock Out
- Toggle the Lock User on for the relevant User
- The User will be locked out of MidexPRO

Updating Password
How to Update Your Password
- Click User Details in the top left corner
- Click Change Password
- Enter your new password
- Click Update Password to confirm
MFA
MidexPRO supports Multi‑Factor Authentication (MFA), allowing Users to add an extra layer of security to their User Accounts.
How to Set Up MFA
- Click User Details in the top left corner
- Click Enable MFA
- Open your Authenticator app (e.g., Google or Microsoft Authenticator)
- Select the option to scan a QR code
- Scan the QR code shown on screen
- Enter the six‑digit code from your app
- Click Confirm
- MFA is now enabled and will be required at your next login

How to Turn Off MFA
- Click User Details in the top left corner
- Select Turn MFA Off
- Click OK to confirm
- Click Save Changes
- MFA is now disabled for your User
MidexPRO works with several authenticator apps, including:
- Google Authenticator
- Microsoft Authenticator

Purging Data
Go to the Legal section in the navigation bar and select Purge Document. Complete the form with full details of the data you want removed. Once submitted, it will be sent to support@midexpro.com.
Submitting the form authorises MidexPRO to permanently delete the specified data. The data is not archived and cannot be recovered once purged.
Please note: Once the purge is completed, the data is permanently deleted and cannot be restored.
Before submitting the document to us, please check the legal requirements you need to follow with your Accountant or Legal Team concerning record retention requirements that you must adhere to.
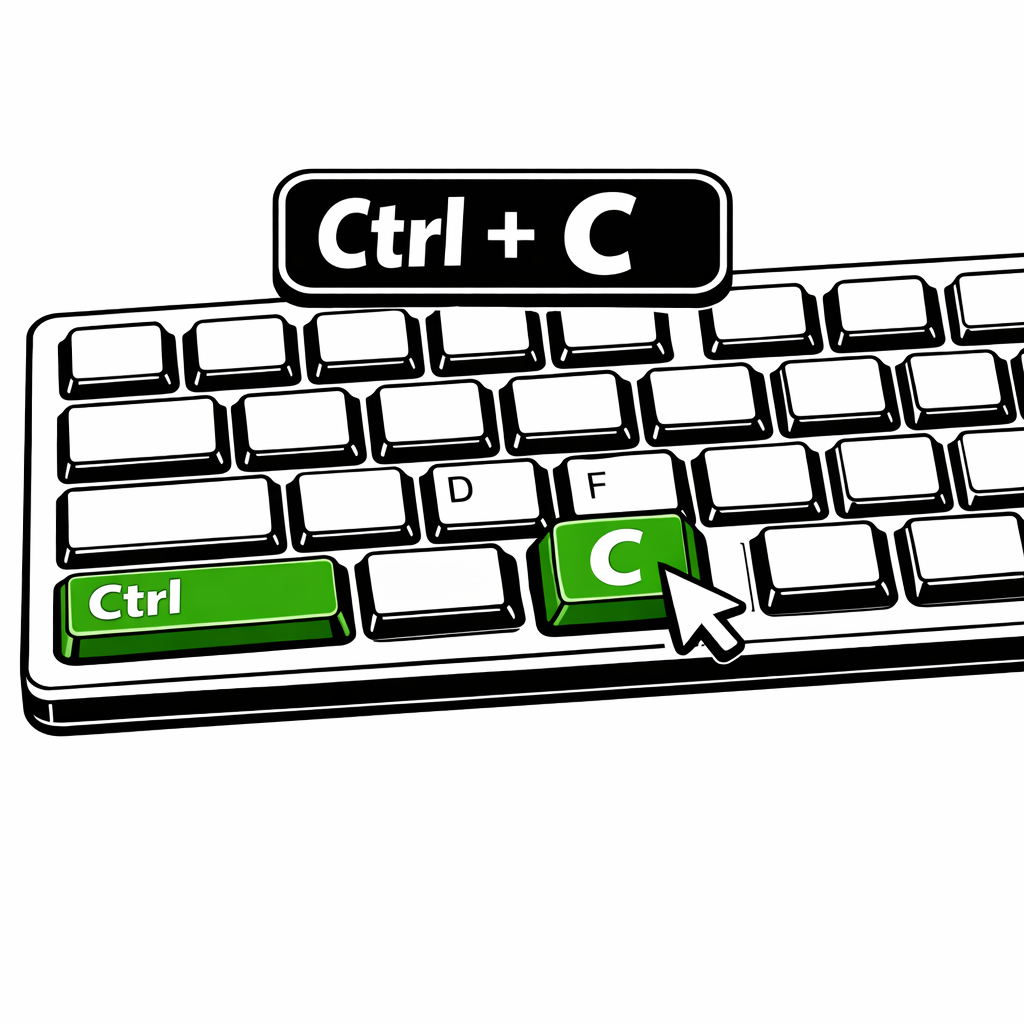
keyboard Shortcuts
Check out this brief video and accompanying document highlighting some of the most-used keyboard shortcuts. These can enhance your productivity in your daily tasks.